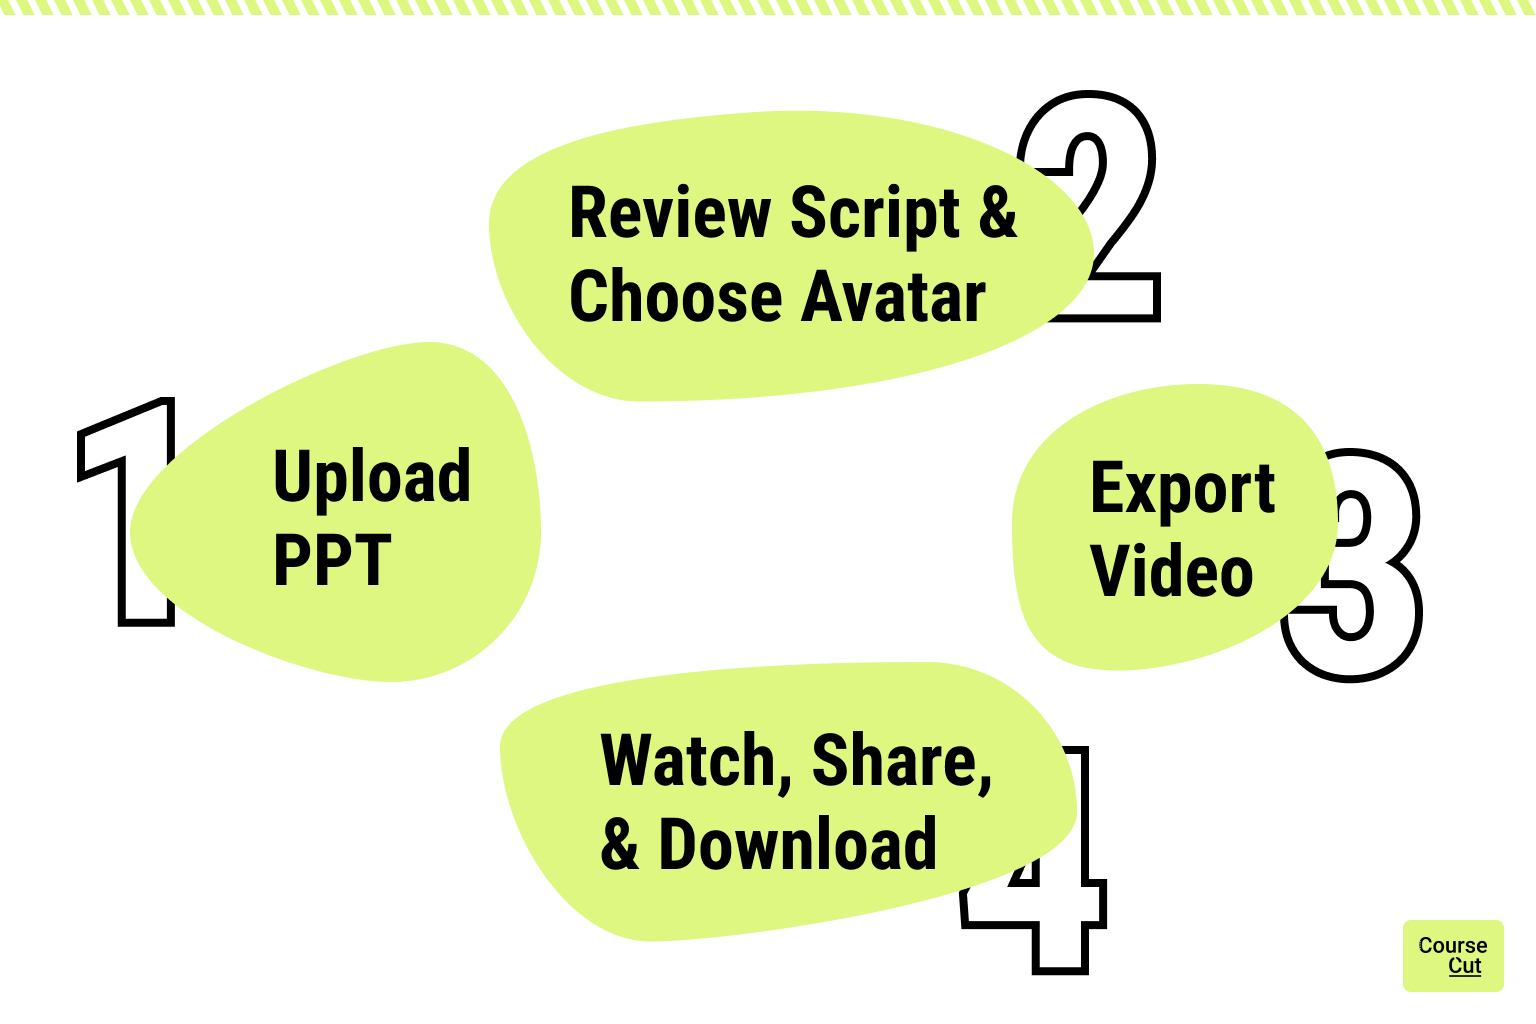
If you already have a PowerPoint (PPTX) or PDF of your presentation, you may be only 3–4 minutes of human effort and around 30 minutes of generation time away from creating a polished video.
Your first video is absolutely FREE, and you do not need to enter credit card details. So even if you do not have a subscription yet, you can still try CourseCut AI and create your first video.
With CourseCut AI, your part is simple: upload your presentation, review the script, choose your avatar, and click Export Video. CourseCut then helps turn your slides into a video with narration, avatar, captions, B-roll, music, sound effects, and editing control.
You do not need to write the narration from scratch, record yourself, manually edit a timeline, or rebuild your slides inside a video editor.
In this guide, we will walk through the basic steps to create your first video with CourseCut AI.
Step 1: Upload Your Presentation
Go to CourseCut.ai and upload your presentation.
You can click the blue Upload button or drag your file into the dotted blue box.
CourseCut AI supports PowerPoint, PPTX, and PDF files. You can upload up to 50 slides and a maximum file size of 100 MB.
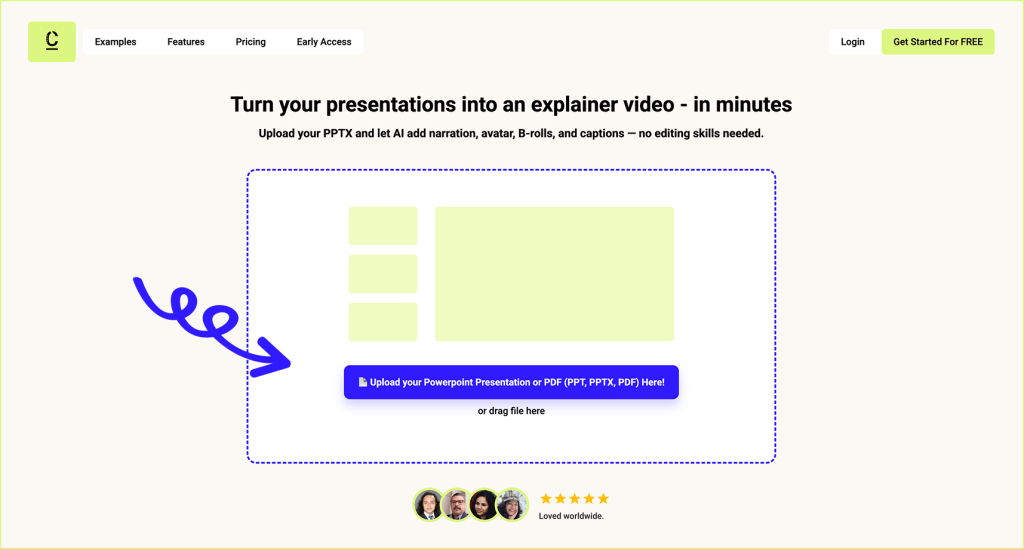
Wait for the file to upload. This can take a couple of minutes depending on your internet speed and the size of your file.
If you are not already logged in, CourseCut AI will ask you to log in or sign up. You can continue with Google or use your email address.
During sign up, you can choose the Free plan. The Free plan allows you to create up to 6 minutes of video per year, so you can create your first video without a paid subscription.
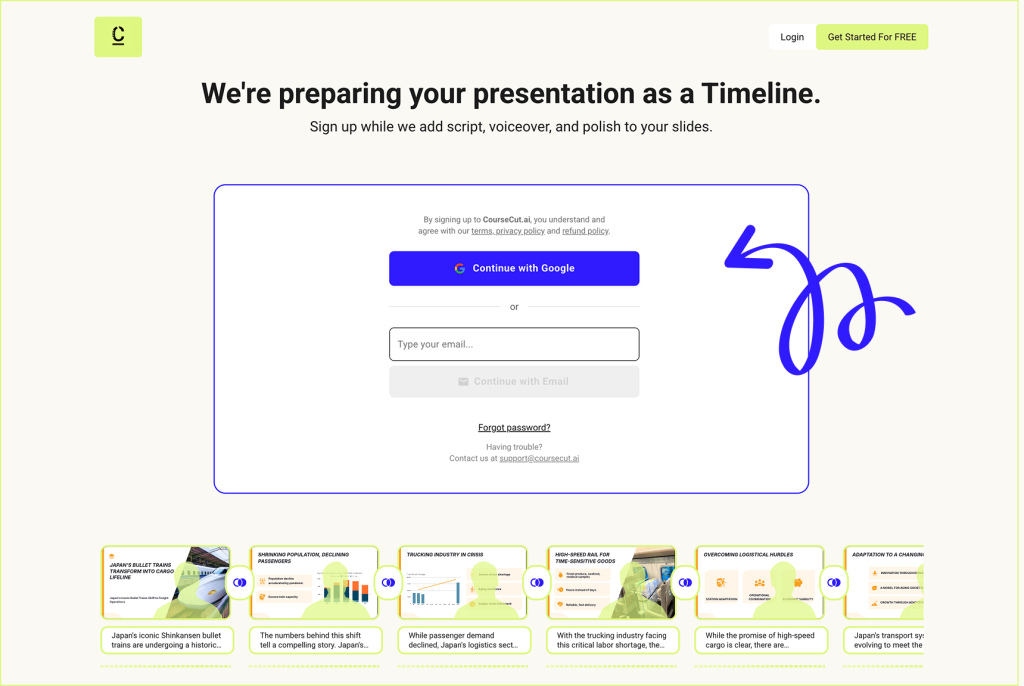
If you sign up with email for the first time, you will receive a verification email with a link to confirm your account. If you do not see the email, check your spam or promotions folder.
Once you are logged in, wait for CourseCut AI to set up your project timeline. This can take anywhere from a couple of minutes to 5–10 minutes, depending on your file.
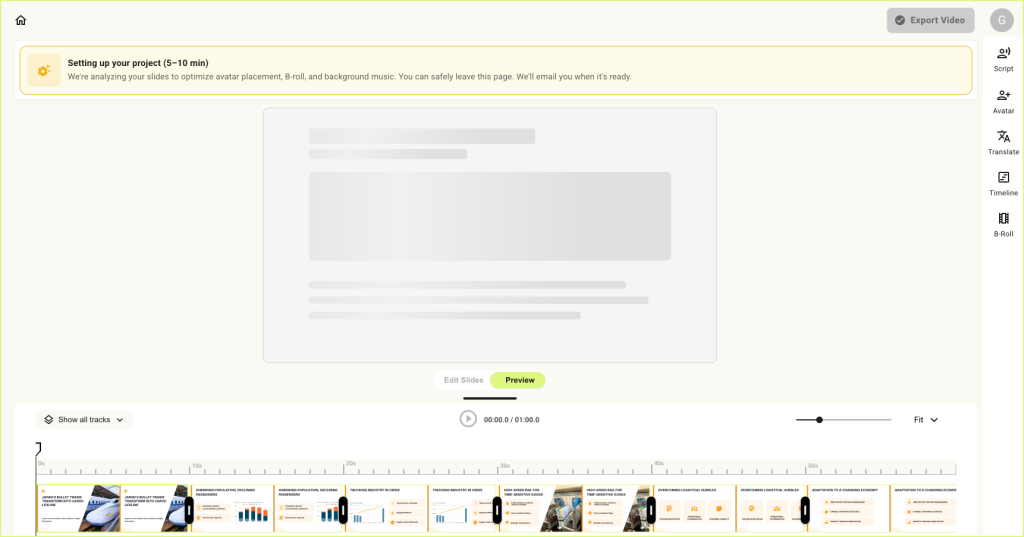
You do not need to stay on the page while this happens. You can continue with other work, grab a quick coffee, or go for a short walk. CourseCut AI will email you once your project timeline is ready.
During this time, CourseCut’s AI agents start doing the directorial work behind your video. They write the narration script, decide where the avatar should appear so it does not block important slide content, identify key moments where B-roll can help, create prompts for B-roll generation that match the visual style of your presentation, and prepare background music prompts for the video.
In short, CourseCut AI starts converting your presentation into a structured video experience, so that the ideas in your slides are explained clearly and absorbed better by the learner.
Step 2: Review the Script and Choose Your Avatar
Once your project timeline is ready, open it from the email notification or from your CourseCut AI dashboard.
Start by reviewing the narration script by clicking on the Script icon. Check whether it explains your presentation clearly and says what you want to convey.
You can make changes to the script and update it if you want. For your first video, we recommend leaving the script as-is, because updating the script will reset the project timeline and may take another 5–10 minutes.
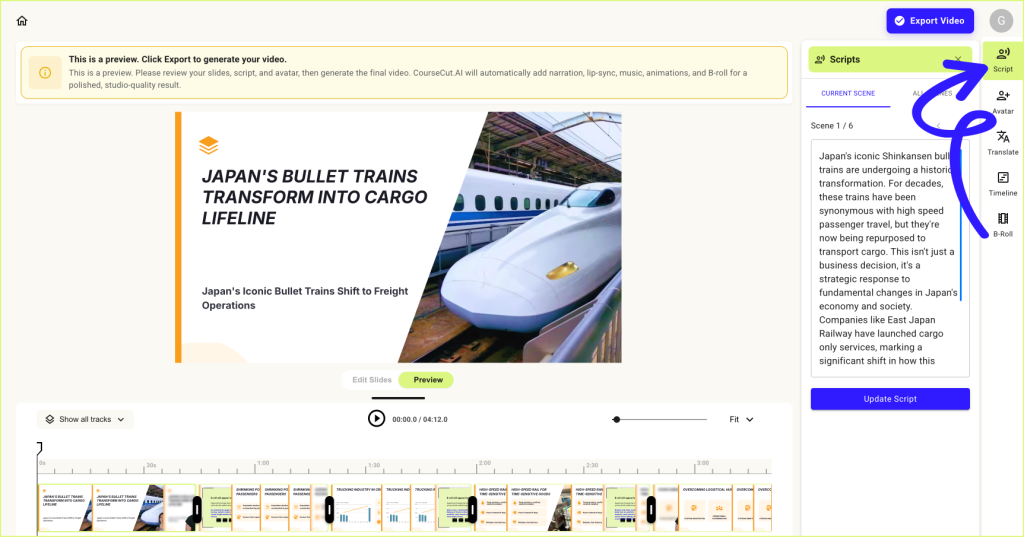
If you uploaded a longer presentation, CourseCut AI may shorten the script so that your video stays within the 6-minute limit of the Free plan. This helps you generate your first video for free.
Next, click on the Avatar icon and choose the avatar you want to use for the video. You can keep the default avatar or choose any avatar you prefer. Hover over an avatar to hear how their voice sounds.
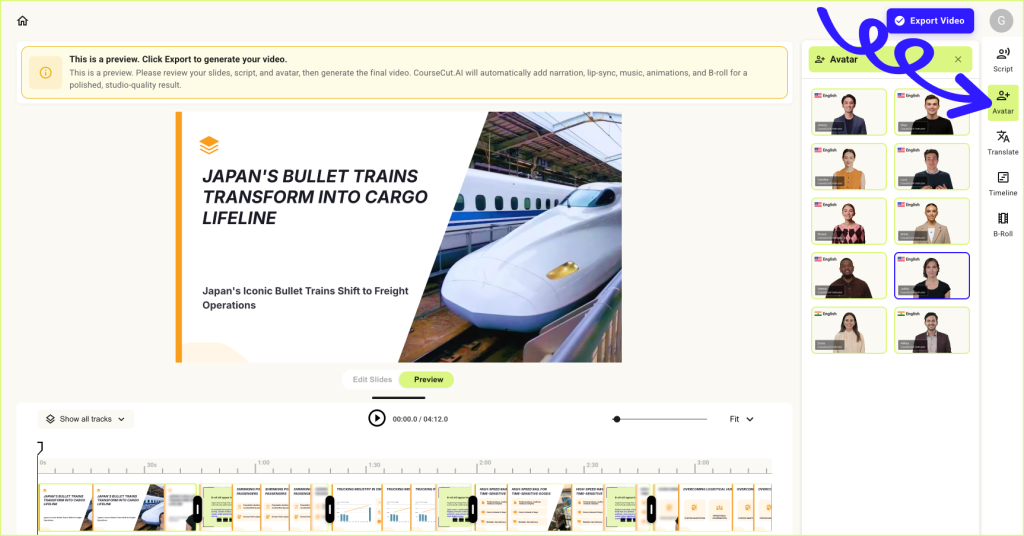
At this stage, you are still looking at a preview. The final voiceover, B-roll, music, sound effects, and other finishing touches will be added only when you export the video. In the preview, you will mainly see where the avatar and B-roll will appear.
So if the preview does not yet feel like a complete video, do not worry. You are almost there.
CourseCut AI also gives you advanced options such as creating a custom avatar, editing slide elements, updating the script in more detail, adjusting B-roll, and fine-tuning other parts of the video. For your first video, you can skip these options and come back to them later.
Once the script and avatar look good, you are ready to export your video.
Step 3: Click Export Video
Once you have reviewed the script and selected your avatar, click Export Video in the top right.
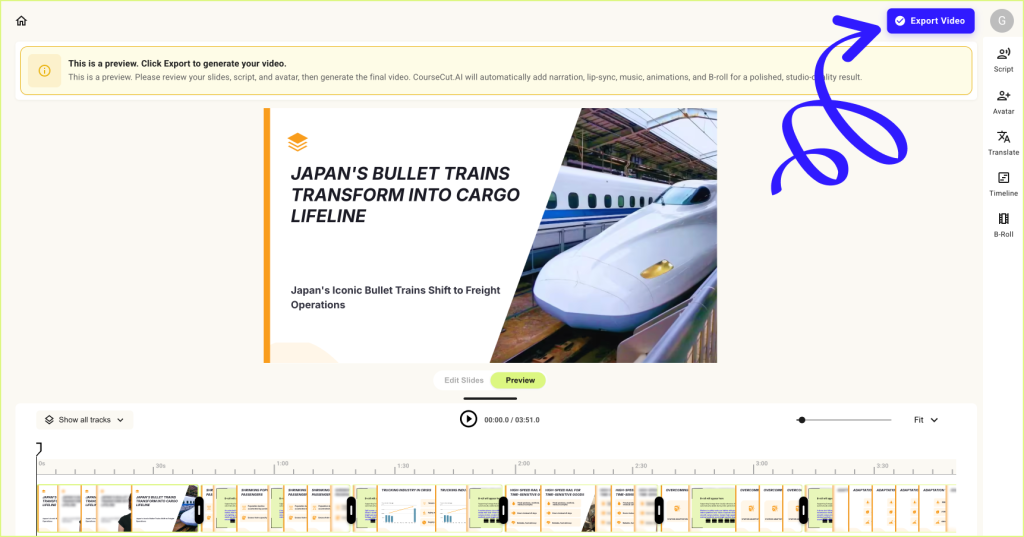
This is where CourseCut AI generates your final video. The platform adds the voiceover, lip-syncs the avatar, generates B-roll, adds background music, includes sound effects, and prepares the final polished output.
Video generation usually takes around 10–20 minutes, depending on the length and complexity of your presentation.
You do not need to stay on the page while the video is being generated. You can continue with your work, and CourseCut AI will email you once your video is ready.
Step 4: Watch, Share, and Download Your Video
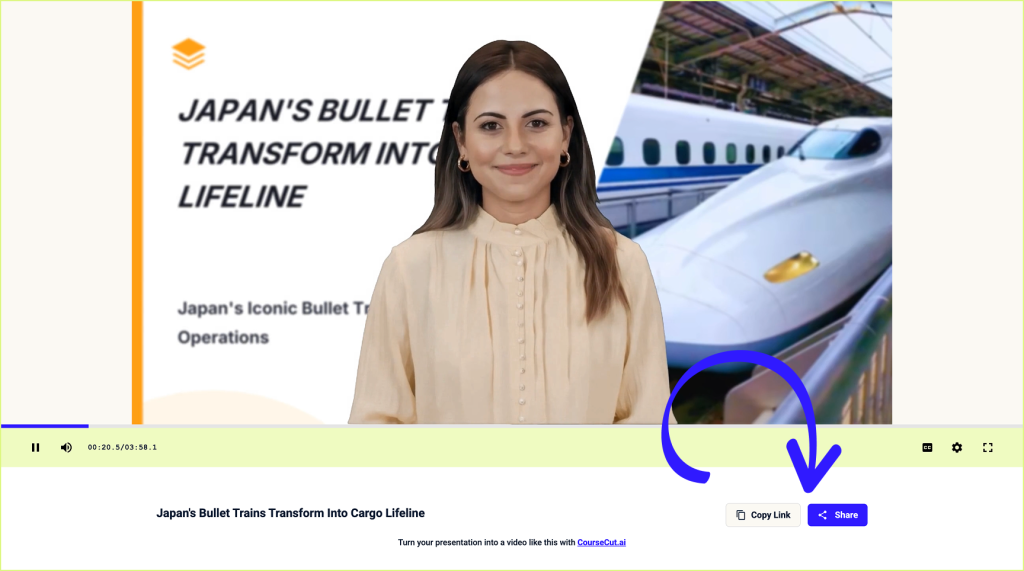
Once your video is ready, open it from the email notification. You can also go to the project in your CourseCut AI dashboard and click Video Link to watch your final video.
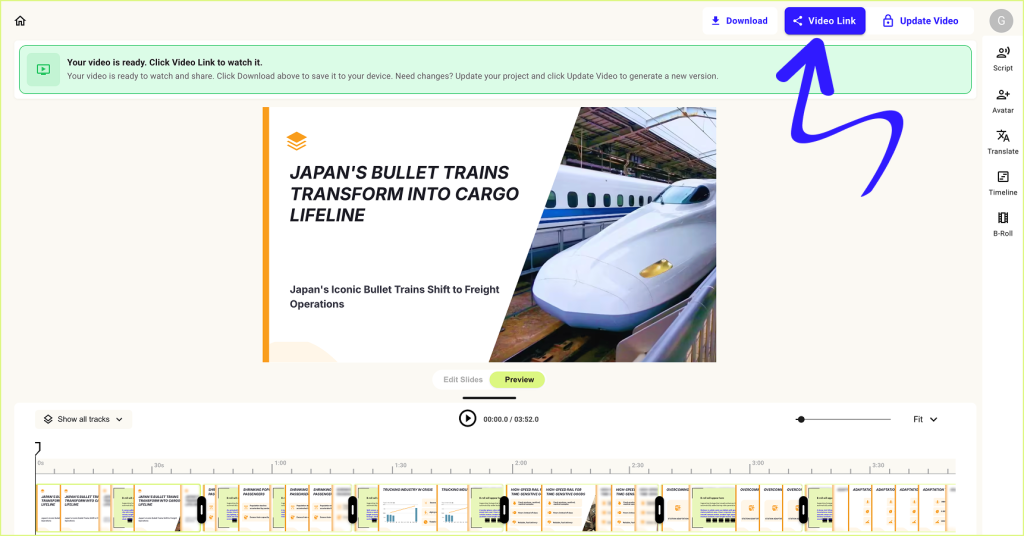
That’s it. You have created your first video with CourseCut AI.
The video link is public, so you can share it directly with others without any extra setup.
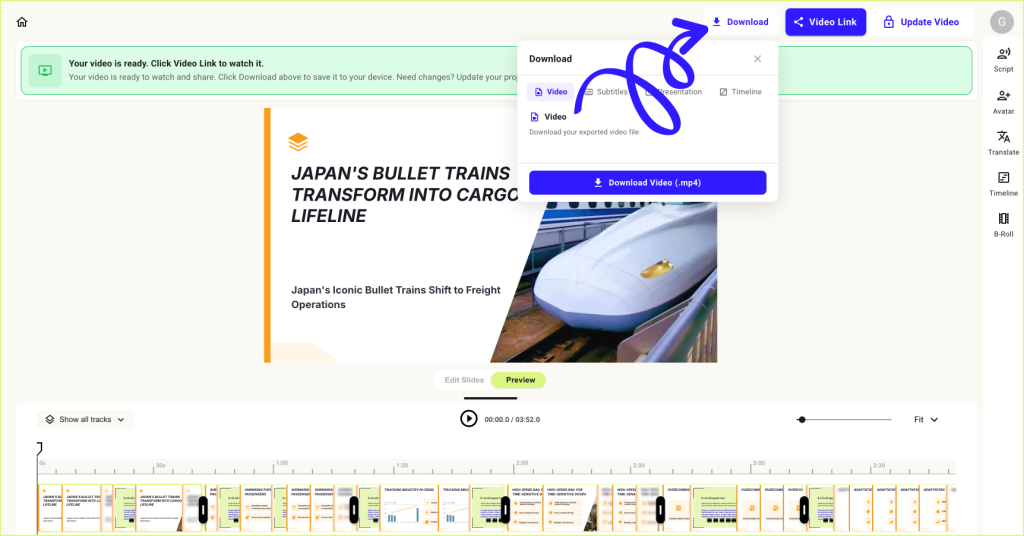
You can also download the video by clicking Download on the project page and use it however you need.
Final Thoughts
Creating a polished video from a presentation used to take hours of scripting, recording, editing, captioning, and post-production.
That level of ease was not really possible before. But with AI, it is.
People who start using these tools early will have an advantage. They will be able to turn ideas, lectures, training material, YouTube videos, course content, product explainers, and presentations into videos much faster than before.
So what are you waiting for?
Your first CourseCut AI video is just a few minutes away. Go to CourseCut.ai, upload your PowerPoint (PPTX) or PDF, and let AI turn your presentation into a polished video.